How to use a Max for Live LFO in Ableton
An LFO moves a parameter periodically. In Ableton you can use it to give movement to a filter, width or effect control. Learning begins with a small, audible modulation; Moving too many parameters at once makes it difficult to know which one changes the sound.
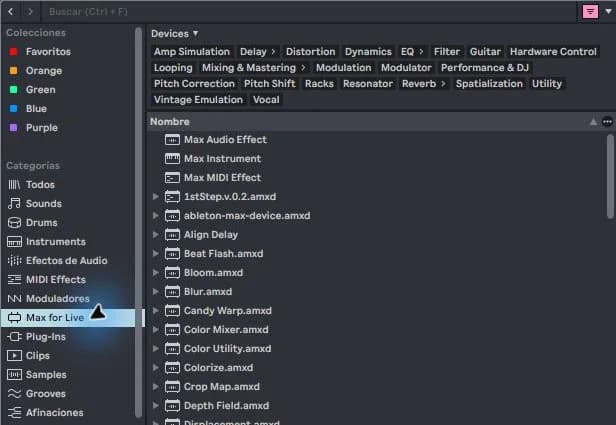
step by step
- Load a simple sound source and an effect with a clear parameter, such as a filter frequency.
- Add a compatible LFO available in your installation. Use its assignment function and select the target parameter.
- Reduce the modulation range and choose a slow speed. Observe the movement of the control before extending the stroke.
- Compare free and tempo-synced if your device offers both options. Save a version with the movement that fits the pattern.
Guided practice
Work with an eight-bar loop. Run the filter through gently and listen to see if the accent reappears in the place you're looking for. The exercise is to choose a musical movement, not to demonstrate how many parameters you can modulate.
Take it to your next session
An Ableton project allows you to see these decisions in context. Compare a stable section with one that introduces movement, and then try a single change in your own copy.
Make movement have a musical function
Before mapping an LFO, decide what you want to hear: a slow opening, a repetitive pulse, or a subtle variation. It limits its travel so that the parameter does not pass through areas that ruin the sound. A large modulation is not necessarily more interesting than a small one.
Listen to several full measures and see how the movement matches the pattern. If it distracts from the rhythm, reduce depth or speed before adding another effect. For a one-off transition, a drawn automation may be easier to control than a continuous motion throughout the song.
If it doesn't turn out as you expected
If the parameter stops responding to the mouse, it may be controlled by the assignment. Review the mapping before adding automation on top. Let's not modulate the output volume with extreme ranges in the first test.
PUT THE WORKFLOW TO USE
View Ableton projects
An Ableton project allows you to see these decisions in context. Compare a stable section with one that introduces movement, and then try a single change in your own copy.QUICK ANSWERS
Frequently asked questions
KEEP BUILDING
Related production guides
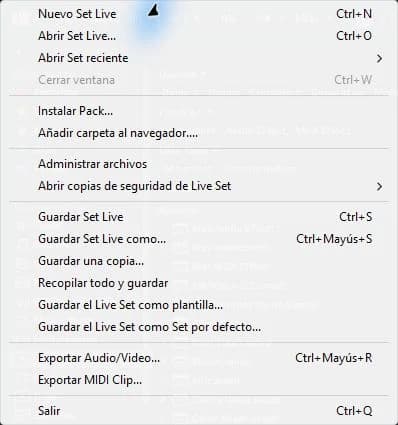
How to add your samples folder to the Ableton browser
Adding a samples folder to Ableton's browser creates convenient access to your files; it doesn't make that folder part of every project. Use a stable location and preserve the original organization of the library to avoid broken references.
Max for Live Instruments in Ableton: How to Load Them
Max for Live instruments are played via MIDI, like other Ableton instruments. Not all Max devices generate sound: some only modify notes or process audio. Identifying the correct type avoids loading an effect and expecting it to play on its own.
What is Max for Live in Ableton and what is it for?
Max for Live extends Ableton with devices that can generate sound, process audio, or transform MIDI. It is not a sample pack or other VST format. You don't need to program to get started: you can use existing devices and learn what they do within a track.